How To Strip a Floor Like a Professional
Maintaining clean and polished floors is essential for creating a welcoming environment in your home or workplace. Stripping a floor is an integral part of proper floor maintenance, as it removes layers of dirt and leaves the surface ready for resealing and refinishing.
This process rejuvenates the appearance of your flooring and ensures its longevity. Though the task may seem challenging, with the right tools, techniques, and preparation, you can confidently strip a floor like a professional.
This guide will take you through each step in the process so that you can ensure pristine results. We’ll explore common mistakes to avoid, and key tips to streamline the process. This information will help you achieve professional-grade results from the comfort of your own space.
Why Stripping a Floor Is Important
Stripping a floor is essential for maintaining its appearance, durability, and hygiene. Over time, floors accumulate layers of grime, wax, and dirt that regular cleaning cannot fully remove, resulting in a dull, worn-out look and a compromised surface.
Stripping removes these accumulated layers, exposing the original flooring and allowing for a fresh application of protective coatings, which enhances its shine and extends its lifespan. This process eliminates stubborn stains, allergens, and bacteria trapped within the surface, creating a cleaner and healthier environment, especially in high-traffic areas.
Gather the Necessary Tools and Materials
Before stripping a floor, gather all the tools and materials necessary to complete the task efficiently and safely. Proper preparation ensures a smooth finish without unnecessary interruptions or delays. You will need a heavy-duty floor stripper formulated for your floor type to ensure compatibility and effectiveness.
Additional equipment includes:
- Strong gloves to protect your hands
- Goggles to shield your eyes from splashes
- A mop and bucket and a dedicated wet/dry vaccuum
- Floor scrapers and stripping pads
- Non-slip shoes to reduce the risk of slips or falls on wet floors
- Access to clean water
- Use floor blowers/fans to dry the floor surface effectively
- Cotton-based mop heads are best for floor stripper, use lint-free rayon blend finish mops to apply wax only.
Identify the Type of Flooring
Recognizing your flooring type is essential to ensure proper maintenance and care. Different flooring materials, such as hardwood, vinyl, tile, and concrete, require tailored treatment, as each has distinct characteristics and sensitivities.
Hardwood floors may be susceptible to moisture and harsh chemicals, while tile surfaces might need specific cleaners to avoid damaging grout. Vinyl and concrete floors also demand specialized products and methods to prevent wear or staining. For wood flooring, it’s highly unadvisable to use any type of stripper. Instead, use a neutral cleaner, even if you have to apply it several times to fully remove old wax.
Using the wrong stripper or technique can result in significant surface damage, potentially leading to expensive repairs.
Prepare the Area
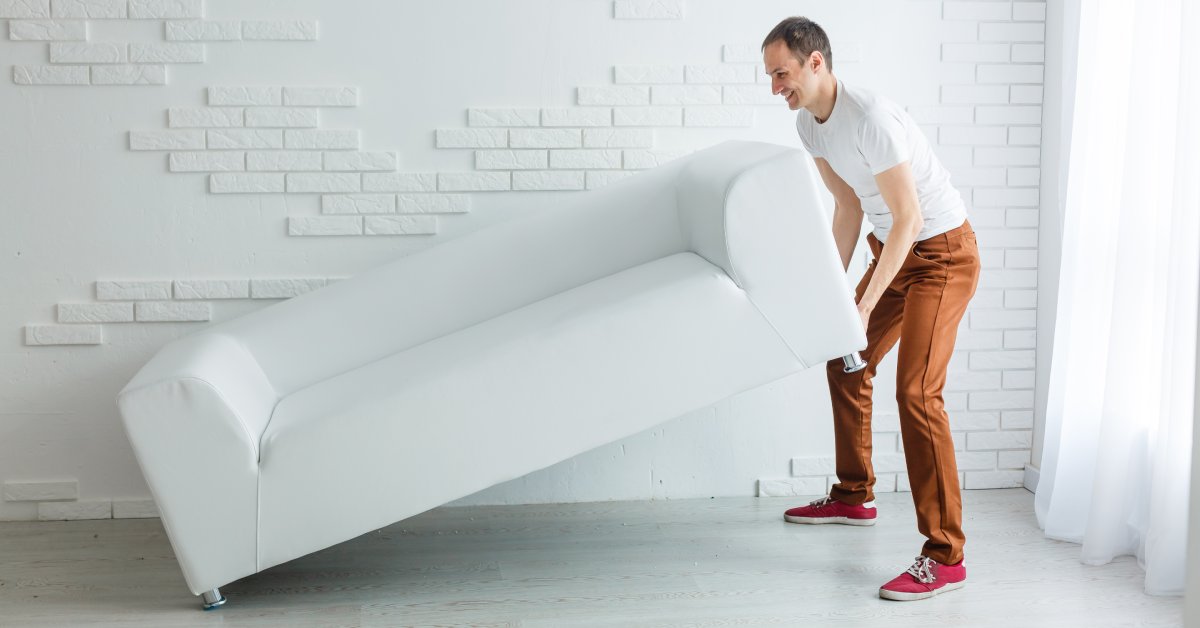
Proper preparation is crucial to ensure an efficient and thorough floor stripping process. Begin creating an unobstructed workspace by clearing the entire area of all furniture, rugs, and any decorative items. Carefully sweep or vacuum the floor to remove dirt, dust, and surface debris that could interfere with stripping.
Ensure the room has proper ventilation by opening windows and doors or using fans to improve air circulation. Double-check the workspace for any lingering debris or obstacles before moving on to the stripping process, as thorough preparation is key to achieving high-quality results.
Apply the Floor Stripper
Before you begin work, carefully read the manufacturer’s instructions to guarantee proper product usage. Pour the floor stripper into a clean bucket and prepare the solution. Using a cotton wet-mop, apply the solution evenly over a small, manageable section of the floor to prevent it from drying out before completion.
Avoid the temptation to flood vinyl composition tile (VCT) flooring with stripper. Use the ratio and amount recommended by the manufacturer. Pouring too much stripper on VCT flooring can cause the stripper to seep down into the seams between the tiles and leach the mastic (black glue) up to the tile surface, making it extremely difficult to remove.
Allow the solution to sit undisturbed for the recommended dwell time, usually 10–15 minutes, to loosen the old finish and buildup. Monitoring the application to prevent the solution from drying on the surface is crucial, as dried residue can make the removal process more difficult and less effective.
Never use an auto scrubber machine to pick up floor stripper. Floor stripper can quickly damage the seals, gaskets, and hoses in an auto scrubber machine. You can use an auto scrubber when you are scrubbing a floor, but should never introduce floor stripper to the auto scrubber.
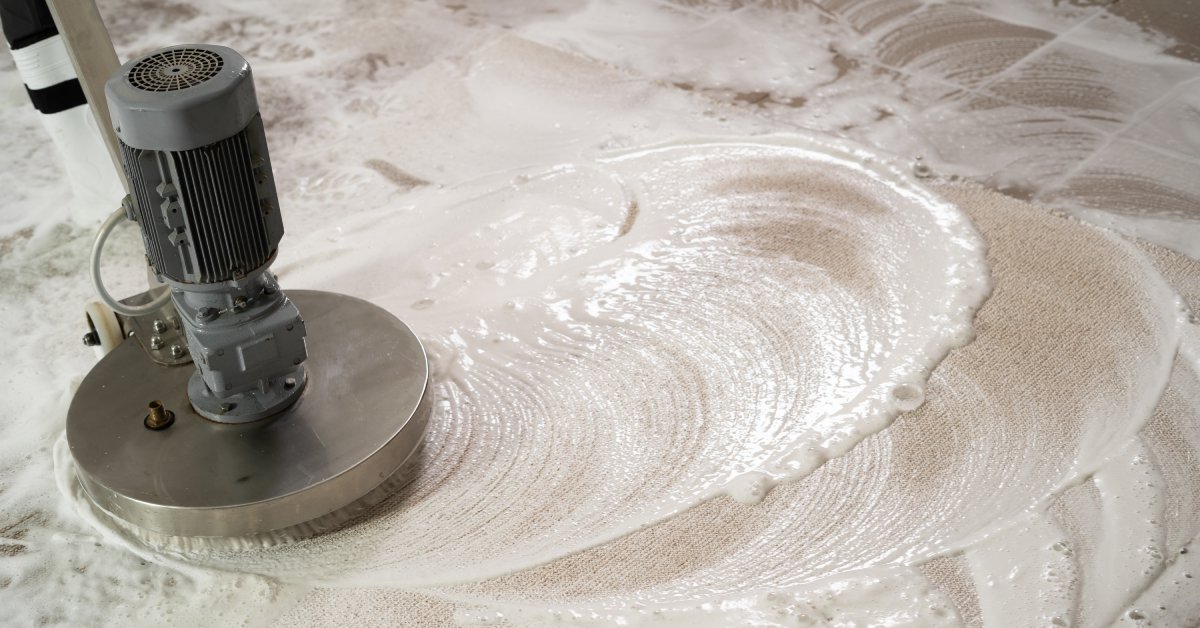
Scrub and Remove Old Coatings
Once the stripper penetrates and breaks down the old wax and finishes, it’s time to scrub the floor thoroughly to remove the remains. The appropriate machine to use to remove the old wax is called a low-speed floor machine. These floor machines operate at lower RPM/s so that they do not fling or spray the stripper all over the place. Select appropriate abrasive stripping pads to agitate the surface, ensuring the old coatings loosen effectively. Use black floor pads for stripping or brown pads for heavy scrubbing.
Pay extra attention to heavily soiled spots or areas where buildup is particularly stubborn, as these may require additional passes for a uniform finish. While scrubbing, avoid scratching or damaging the floor underneath. When working on edges, corners, or other hard-to-reach areas, employ a hand scraper or a small detailing brush to remove residual coatings.
Rinse the Floor Thoroughly
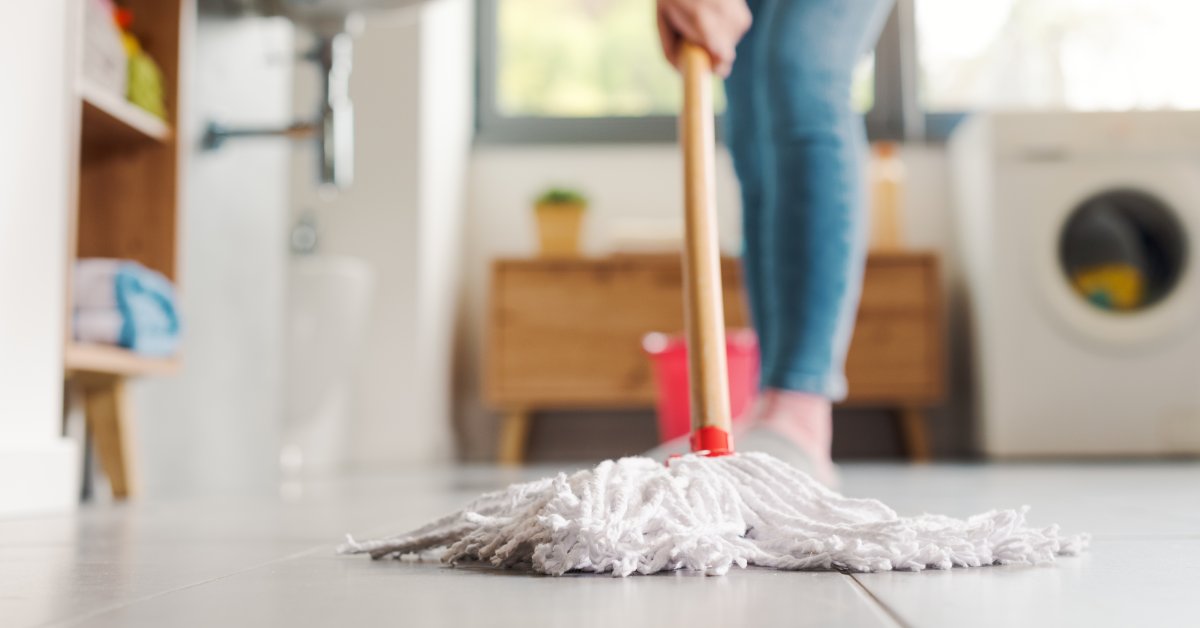
Rinse the floor after stripping the old coatings to ensure no chemical residue remains. Use clean water and a high-quality mop to thoroughly wipe down the surface, effectively removing any traces of the stripping solution. You might need to repeat this process several times to guarantee the floor is free of all cleaning agents.
Consider using a wet vacuum to assist in removing excess moisture and cleaning agents during this stage. Taking the time to rinse the floor is an essential step that ensures a clean, residue-free surface, setting the foundation for a flawless application of the new finish.
Allow the Floor To Dry Completely
Ensuring the floor is completely dry is a critical step in stripping and refinishing, as any lingering moisture can significantly impact the performance and appearance of the new finish. Enhance the ventilation in the area by opening windows and using fans to promote air circulation and expedite drying.
Depending on the size of the room and the humidity levels, this process may take several hours, so it is important to be patient and thorough. Avoid rushing this step, as applying finish to a damp surface can lead to poor adhesion, bubbling, or streaking, compromising the durability and aesthetic of the floor.
Inspect and Touch Up the Surface
Once the floor is completely dry, inspect the surface under good lighting to identify any remaining stains or imperfections you might have missed during the initial cleaning and stripping process. Pay close attention to corners, edges, and high-traffic areas, as these are more likely to retain residue or uneven patches. If you notice any problem areas, repeat the stripping and cleaning process on those spots to ensure a flawless finish.
Stripping a floor like a professional demands attention, effort, and precision. By employing the right tools and following the proper steps, you can achieve excellent results that enhance the beauty and durability of your floors. Proper floor maintenance contributes to a clean and polished appearance and extends the lifespan of your flooring, providing significant value over time.